How to Make Your Own Birthday Invitations Step by Step
If you want to make your own birthday invitations, I have great news for you. It's not actually as hard as you may have thought.
Making printable birthday invitations can be fun, and by following this guide on how to create your own birthday invitations using Microsoft Publisher, you won't have to spend too much time long fiddling around in the dark.
But
before we dive into making the birthday invitations, here are a few
general
tips on making birthday invitations.
Tips to Make Your Own Birthday Invitations
When making your own printable birthday party invitations, it's important that you keep a few things in mind:1) Size Does Matter When It Comes to Kids Birthday Party Invitations
A postcard sized birthday invitation can be very convenient to make if you don't have a lot of time as invitations of this size won't need to be decorated as much - the text will occupy most of the space.
Larger cards, on the other hand, will give you the option of adding decorations, pictures, and fancy embellishments, though they
may require a bit more skill with graphic design and layout.
2) Printing Isn't Cheap
 Printing out your
birthday invitations at home can actually cost you more than printing them out at a professional print store.
Printing out your
birthday invitations at home can actually cost you more than printing them out at a professional print store.
Remember that your printer only has a limited amount of colored ink, and you may end up using most of it printing the 20 or 30 birthday invitations that you will be sending out.
If you want to save a bit of money when you make your own birthday invitations, you may find that doing an online search for discount printing shops will be a good choice for you. You can find coupons that will save you a lot of money, and will make it easier for you to print them out without spending a fortune.
3) Don't Spend Too Much Time
No doubt you are the kind of person that wants to do everything yourself, as that's why you've come to here. If you are going to work on the invitations, decide for yourself how much time you want to spend on it.
If you find that you're not into making your own birthday
invitations there are plenty of
free printable birthday invitations that you can
download and print out.
4) Keep it Simple ... Minimalistic Is Posh
When you are to make your own birthday invitations, you will probably be tempted to try and design a fancy card like you see in gift shops or online catalogues.
If you're really creative you might make your own birthday invitations even more pretty than the ones, you can buy, but for many people who have a great idea, the result most often don't turn out like what they imagined.
So when you are to make your own birthday invitations, stay on the minimalistic route and avoid trying too hard to design a fancy card, but just keep it simple.
A simple design is easy to make nice, and it will be easier to fix up if there is something wrong with the layout.
How to Make Your Own Invitations ... Step by Step Instructions with Microsoft Publisher
To make your own birthday invitations, you don't need a lot. Making your own invitations is actually fairly simple, and here you can learn how to make your own invitations using Microsoft Publisher:
Step 1 - Open Microsoft Publisher
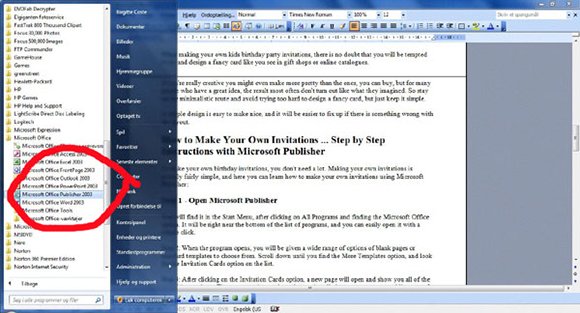
To make your own birthday invitations you open Microsoft Publisher. You will find it in the Start Menu, after clicking on All Programs and finding the Microsoft Office option.
It will be right near the bottom of the list of programs, and you can easily open it with a simple click.
Step 2 - Find the 'Invitation Cards' Option
When the program opens, you will be given a wide range of options of blank pages or standard templates to choose from. Scroll down until you find the "More Templates" option, and look for the "Invitation Cards" option on the list.
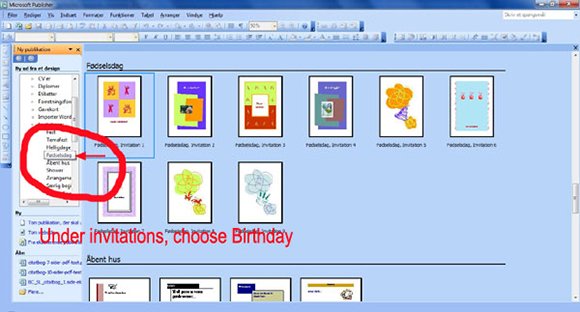
Step 3: Look at All the Available Templates
After clicking on the "Invitation Cards" option, a new page will open and show you all of the available templates that you can use to make your own birthday invitations.
There are certain templates that are installed on your computer, while some of the templates are only available from Office's online catalogs. These birthday templates are all free, but you will need to be connected to the internet to access some of them.
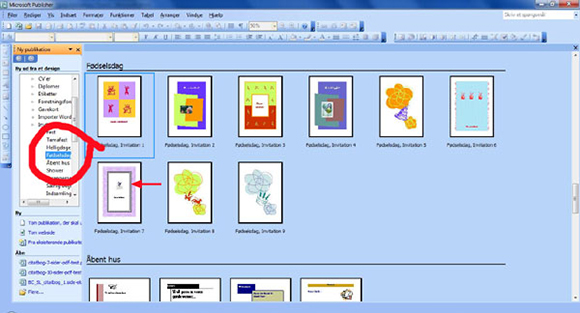
Step 4: Find the Invitation Cards Template You Like

Check the list of invitations and birthday cards until you find a template that you like, and click on it. There are only a few options of already designed birthday cards, but there are many simple templates that will serve as a guide for you when you make your own birthday invitations. If you like the style of a card but don't like the color, click on it and adjust the colors.
Step 5: Fiddle with the Colors, Font and Borders
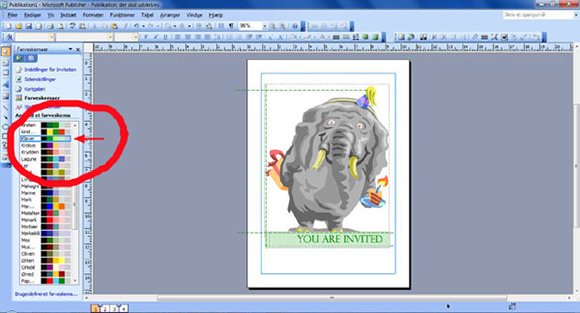
To adjust the color of a shape or object on the card, all you will need to do is click on the object, select Format Picture or Format Text Box, and navigate to the Colors and Lines tab.
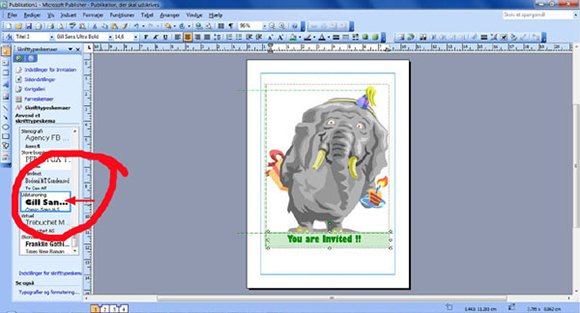
You can change the color of the item by selecting the Fill option, or you can change the border of the picture by selecting the Lines option.
To change the color of style of the text, you will need to click on the text box and select all the text inside. To do this, simply click twice on the text box, and press Control + A to select everything inside the box. Right click with your mouse, and select the options on the text formatting menu.
Step 6: Adding Bits to Personalize Your Birthday Invitations
If you want to make your own birthday invitations look extra fancy, you may want to add some nifty pictures of your child, some clip art from the internet, or random pictures that you find and download.
All you will need to do is to save them to your computer and drag and drop them into the window that you're working with, or you can actually drag and drop them directly into the window from the internet page without having to download them.
Step 7: Adjust the Size of Your Card
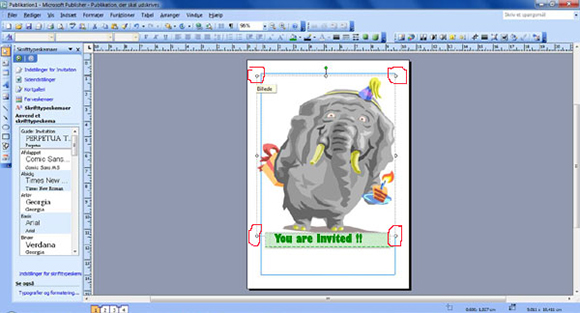
In order to adjust the size of the picture, you can use the 8 little shapes you find around the item.
The four circles on the corners will help you to expand the pictures evenly, while the two squares on the top and bottom and the two on the sides will help you to expand them in only that direction.
You can also use the green circle above the picture to rotate it, allowing you to change the angle of the picture.
Step 8: Save Your Birthday Invitation
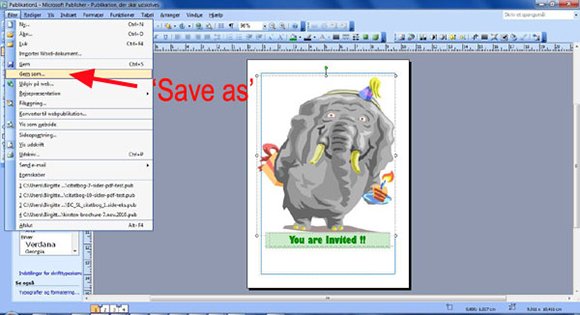
Once you have added pictures and made adjustments to the card as desired, it's time to save it. But first, it's important to be certain that the invitation follows all the guide lines and boundaries that the page already has integrated into it. Make sure to check, as anything outside the boundaries will be eliminated when you print the cards.
To save the invitation, simply press Control + S or click on File, and Save. You will be presented a number of options for saving your invitation, and it's important that you choose the right ones.
If you save it as a Publisher file, you will be able to continue making edits and changing it as desired. If you are ready to print it out, save it as a PDF - the universal format that works on every computer.
Just remember, you can't make any edits with PDF, so only save it as PDF once you're sure you're ready to print.
See, it's not that hard to make your own printable birthday invitations, and it doesn't take a long time to learn how to do it. Sure, it will take a bit of practice to get good at using Microsoft Publisher, but all of the tools are easily visible - especially in Microsoft Office 2010 and later versions.
It will be quick and easy, and your birthday party invitations will be ready to go in no time at all!
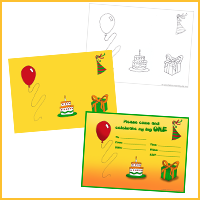
Here my My Result From this Make Your Own Birthday Invitations Session
Feel free to use this as a free printable kids birthday party invitation. It is 15 cm x 10,4 cm in 300 dpi.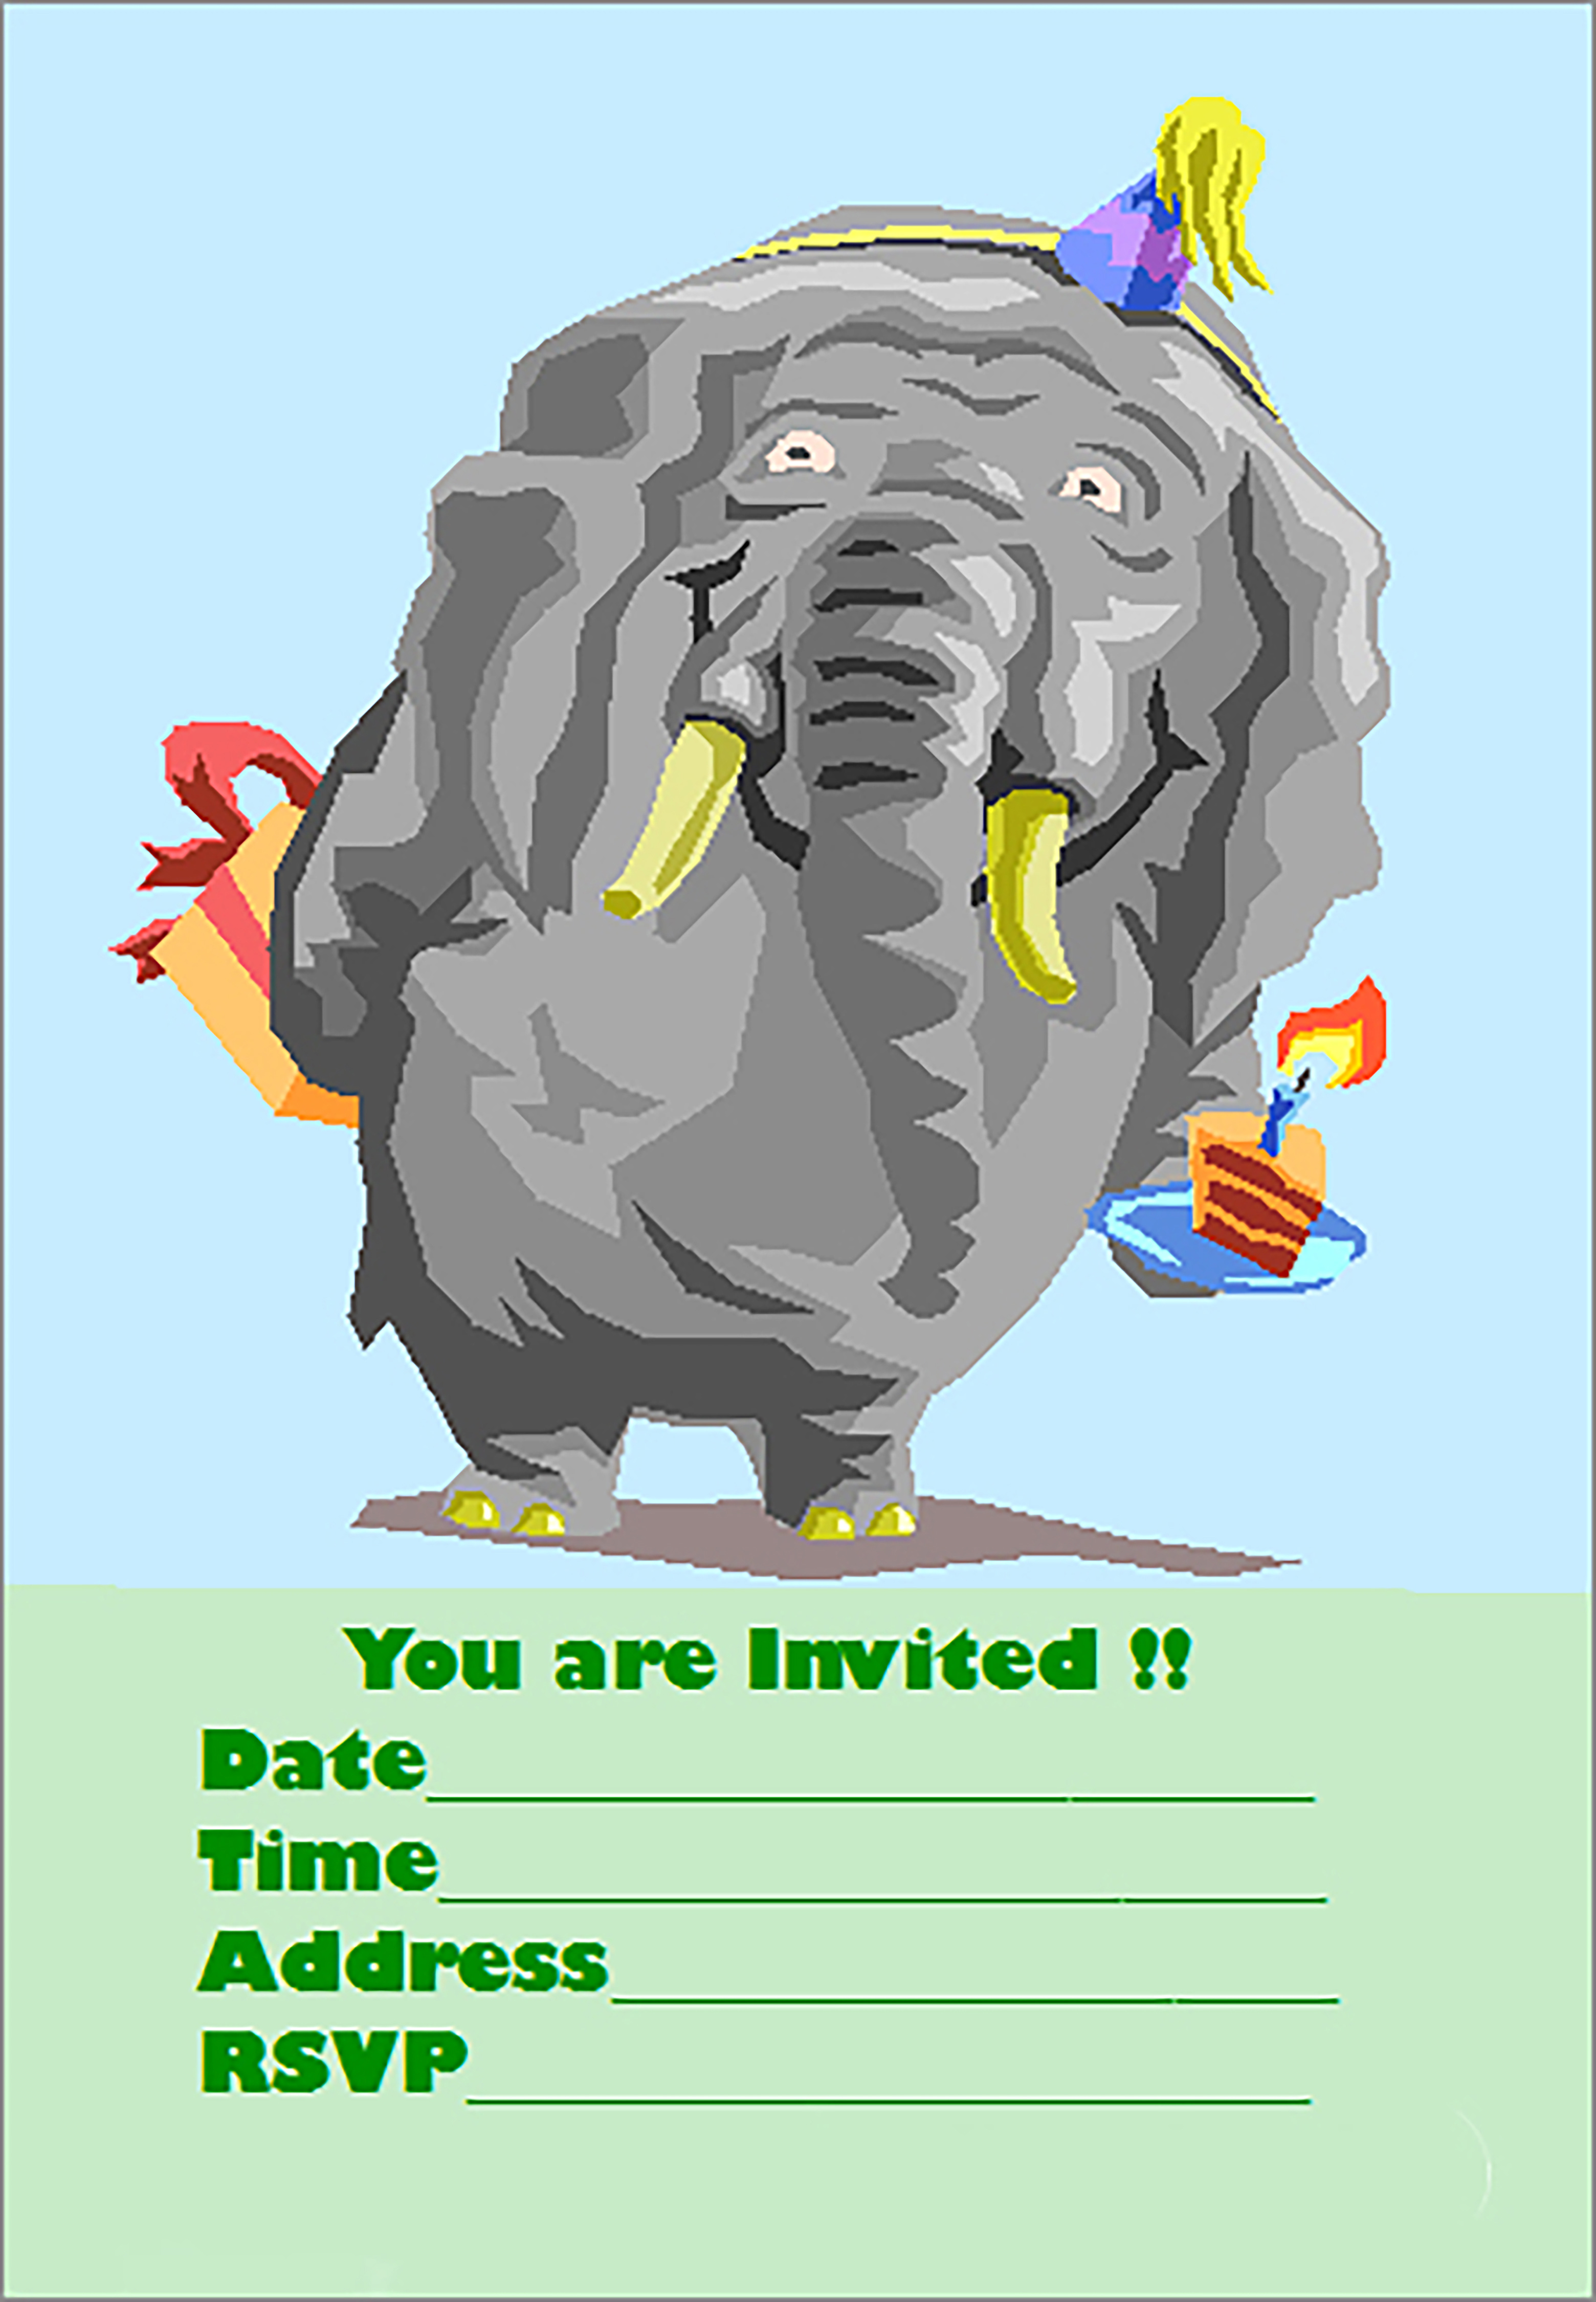
I hope you found my guide in how to make your own birthday invitations useful. If want to take a shortcut, you can dive into one of my pages with free printable birthday invitations. Find several links to those pages below.
Your Positive Parenting Ally,
Birgitte

Want to stay in touch and get the latest news?
Sign up
for my free newsletter
Parent Coaching
- For Inner Peace, Clarity and a Deeper Connection to Your Child
 Being a parent can feel like a double-edged sword. Life with kids may feel like the greatest gift you have ever received, while at the same being hugely challenging, often leaving you confused, stressed and overwhelmed.
When we feel like this, we've lost touch with ourselves. We can't hear our own inner voice, and it's difficult to know what is 'right' for us and how to act.
I offer in-depth parent coaching to help you regain your balance and get back in touch with yourself. From a place of inner peace and clarity, your will find your own answers which will help you reconnect with your child from a place of unconditional love and acceptance.
Read more about my parent coaching here.
Where Would You Like to Go Next?
How to Make Your Own Birthday Invitations
 Tips to Easily Create Birthday Invitations that Have That Simple, Tasteful Look |
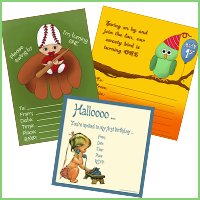
Free Printable Birthday Party Invitations for Kids
 Fabulous and Free Birthday Invitations for Kids all Ready to Print |
 Cute and Unique Printable Birthday Party Invitations for Kids |
 High Quality Fun and Free Printable Birthday Party Invites for Kids |
First Birthday Party Invitations for When Your Baby Turns One
 Beautiful and Cute First Birthday Party Invitations - Free, Printable and Original |
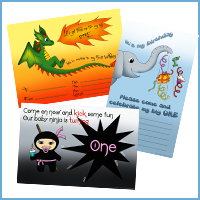 Adorable Free Printable Baby Birthday Invitations for Little Boys and Girls |
Free Printable Baby Shower Invitations
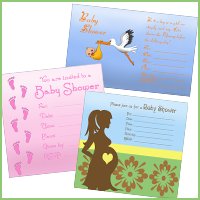 20 Adorable Free Printable Baby Shower Invitations |
Back to the top of this page about How to Make Your Own Birthday Invitations Step by Step
Go to the Positive Parenting Ally Homepage


Want to stay in touch and get the latest news?
Sign up
for my free newsletter